


We will take you on a journey of creative exploration, to discover your perfect wood floor and more…
Plan your VisitCan You Repair Engineered Wood Flooring?
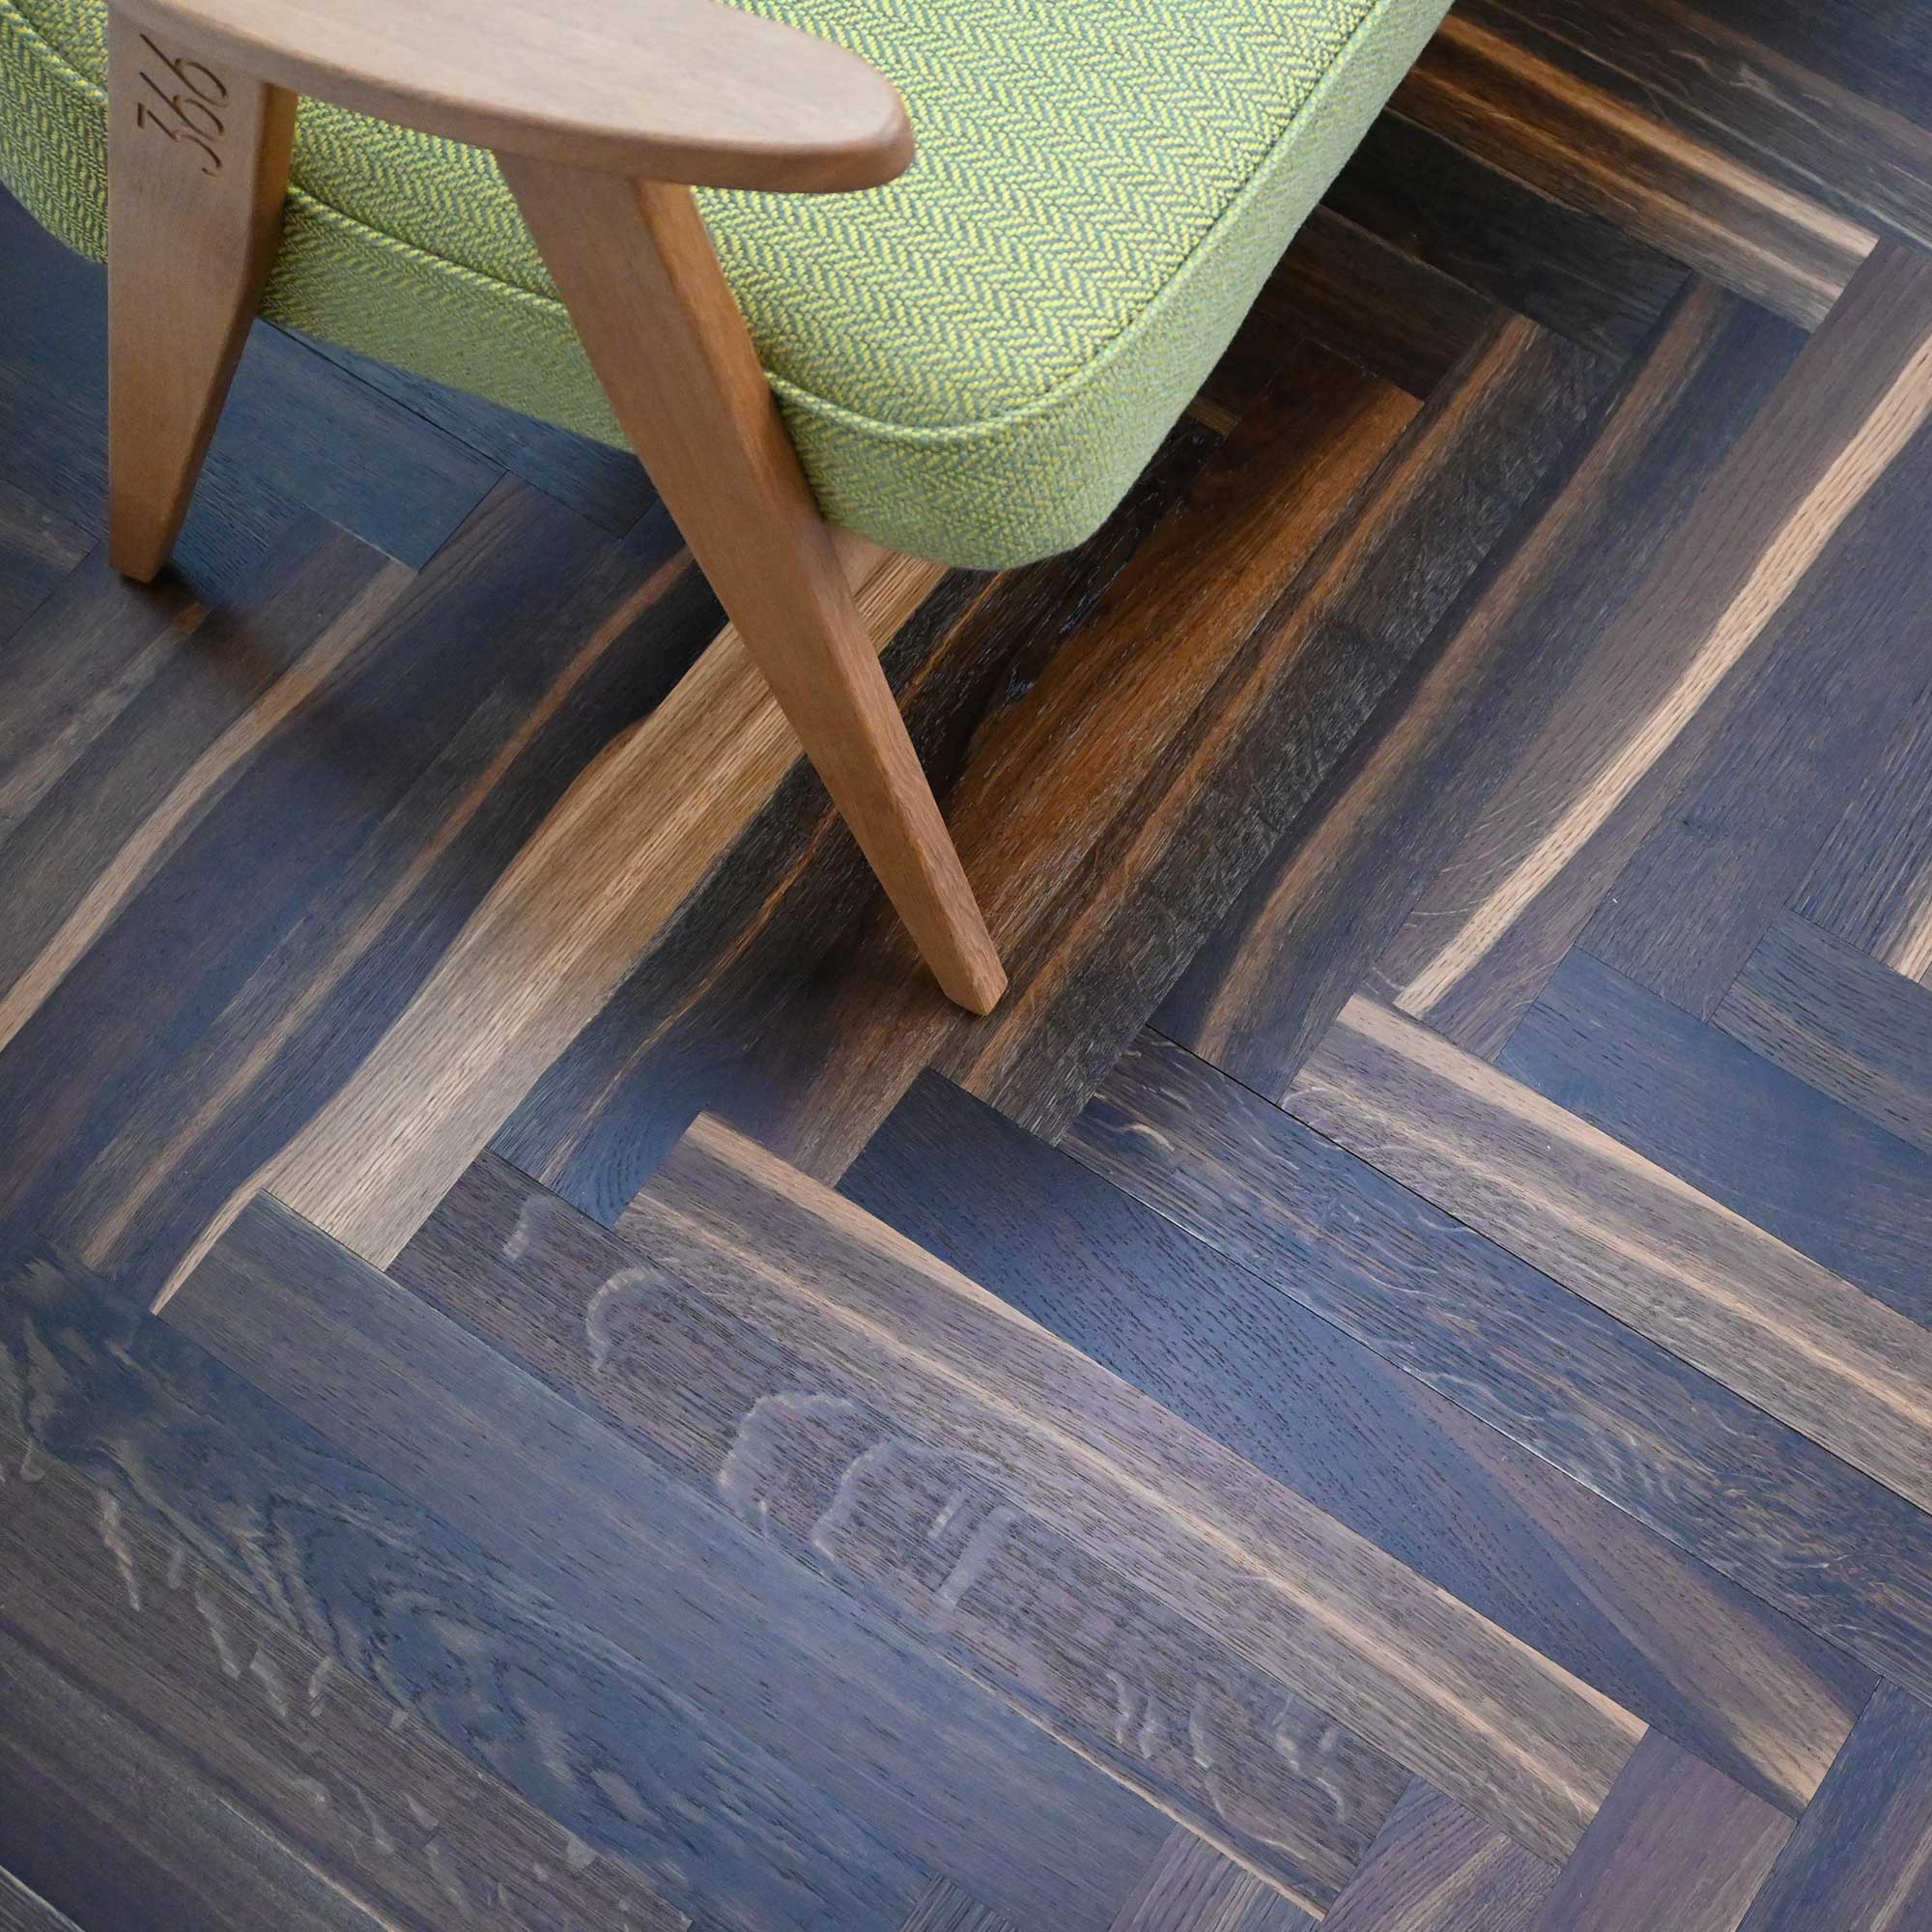
From time to time, your engineered wood floors may need a bit of extra care. Accidents happen, and no flooring type is completely impervious, especially under more extreme circumstances. But engineered wood flooring stands apart from all other flooring types in its resilience and capacity for continual repair. In this guide, we will show you the best ways to care for your engineered wood flooring, old and new, and offer our advice on long-term maintenance schedules and the best restorative products to invest in. 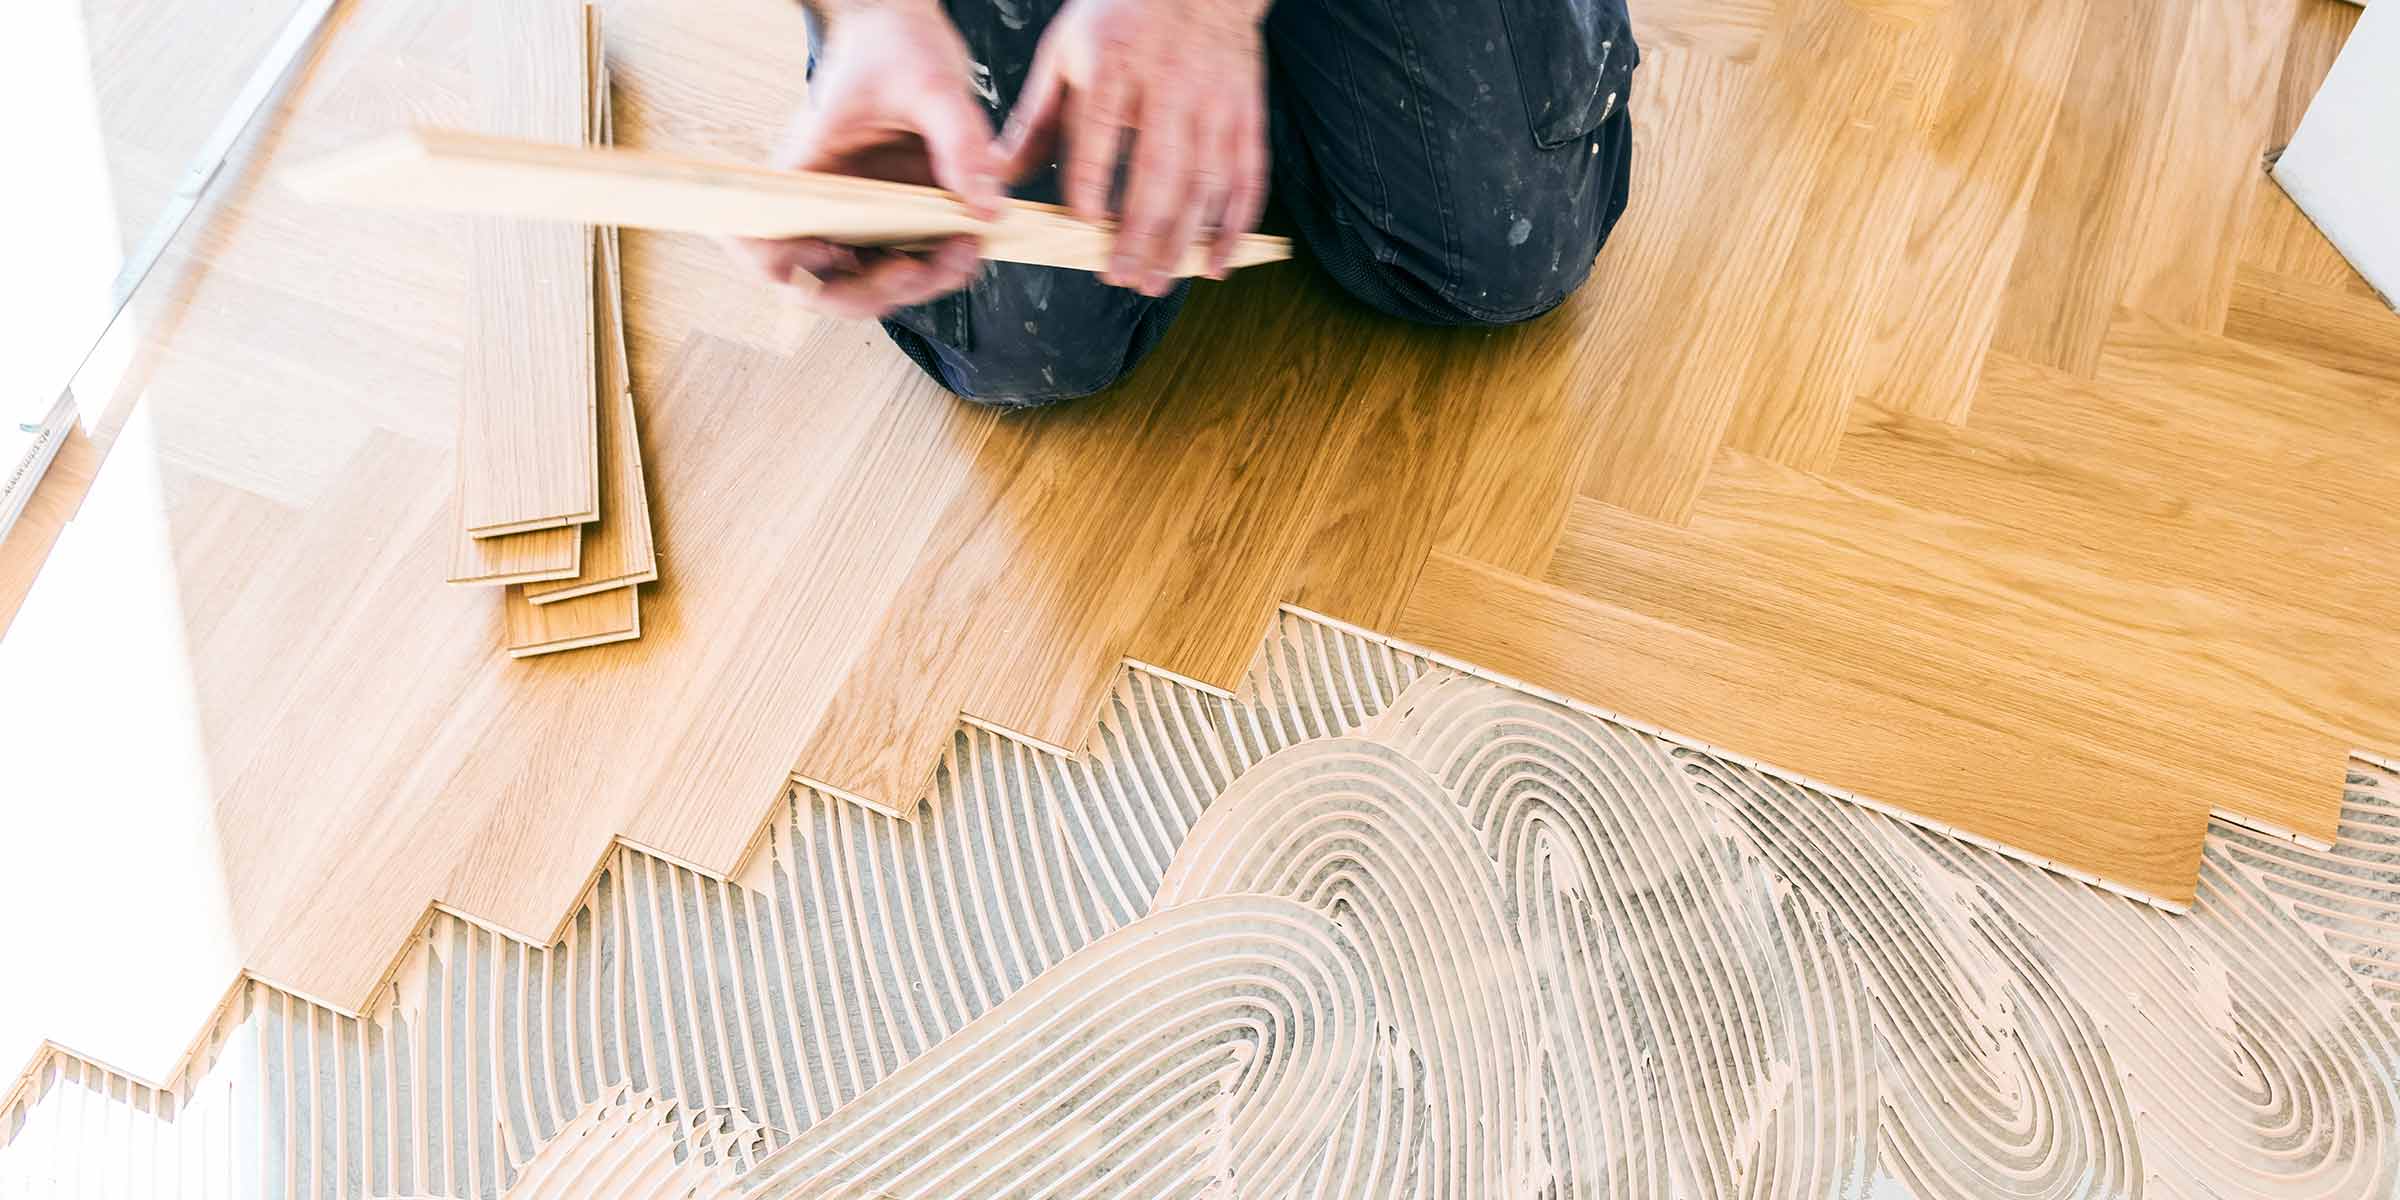
How to Care For Your Engineered Wood Flooring
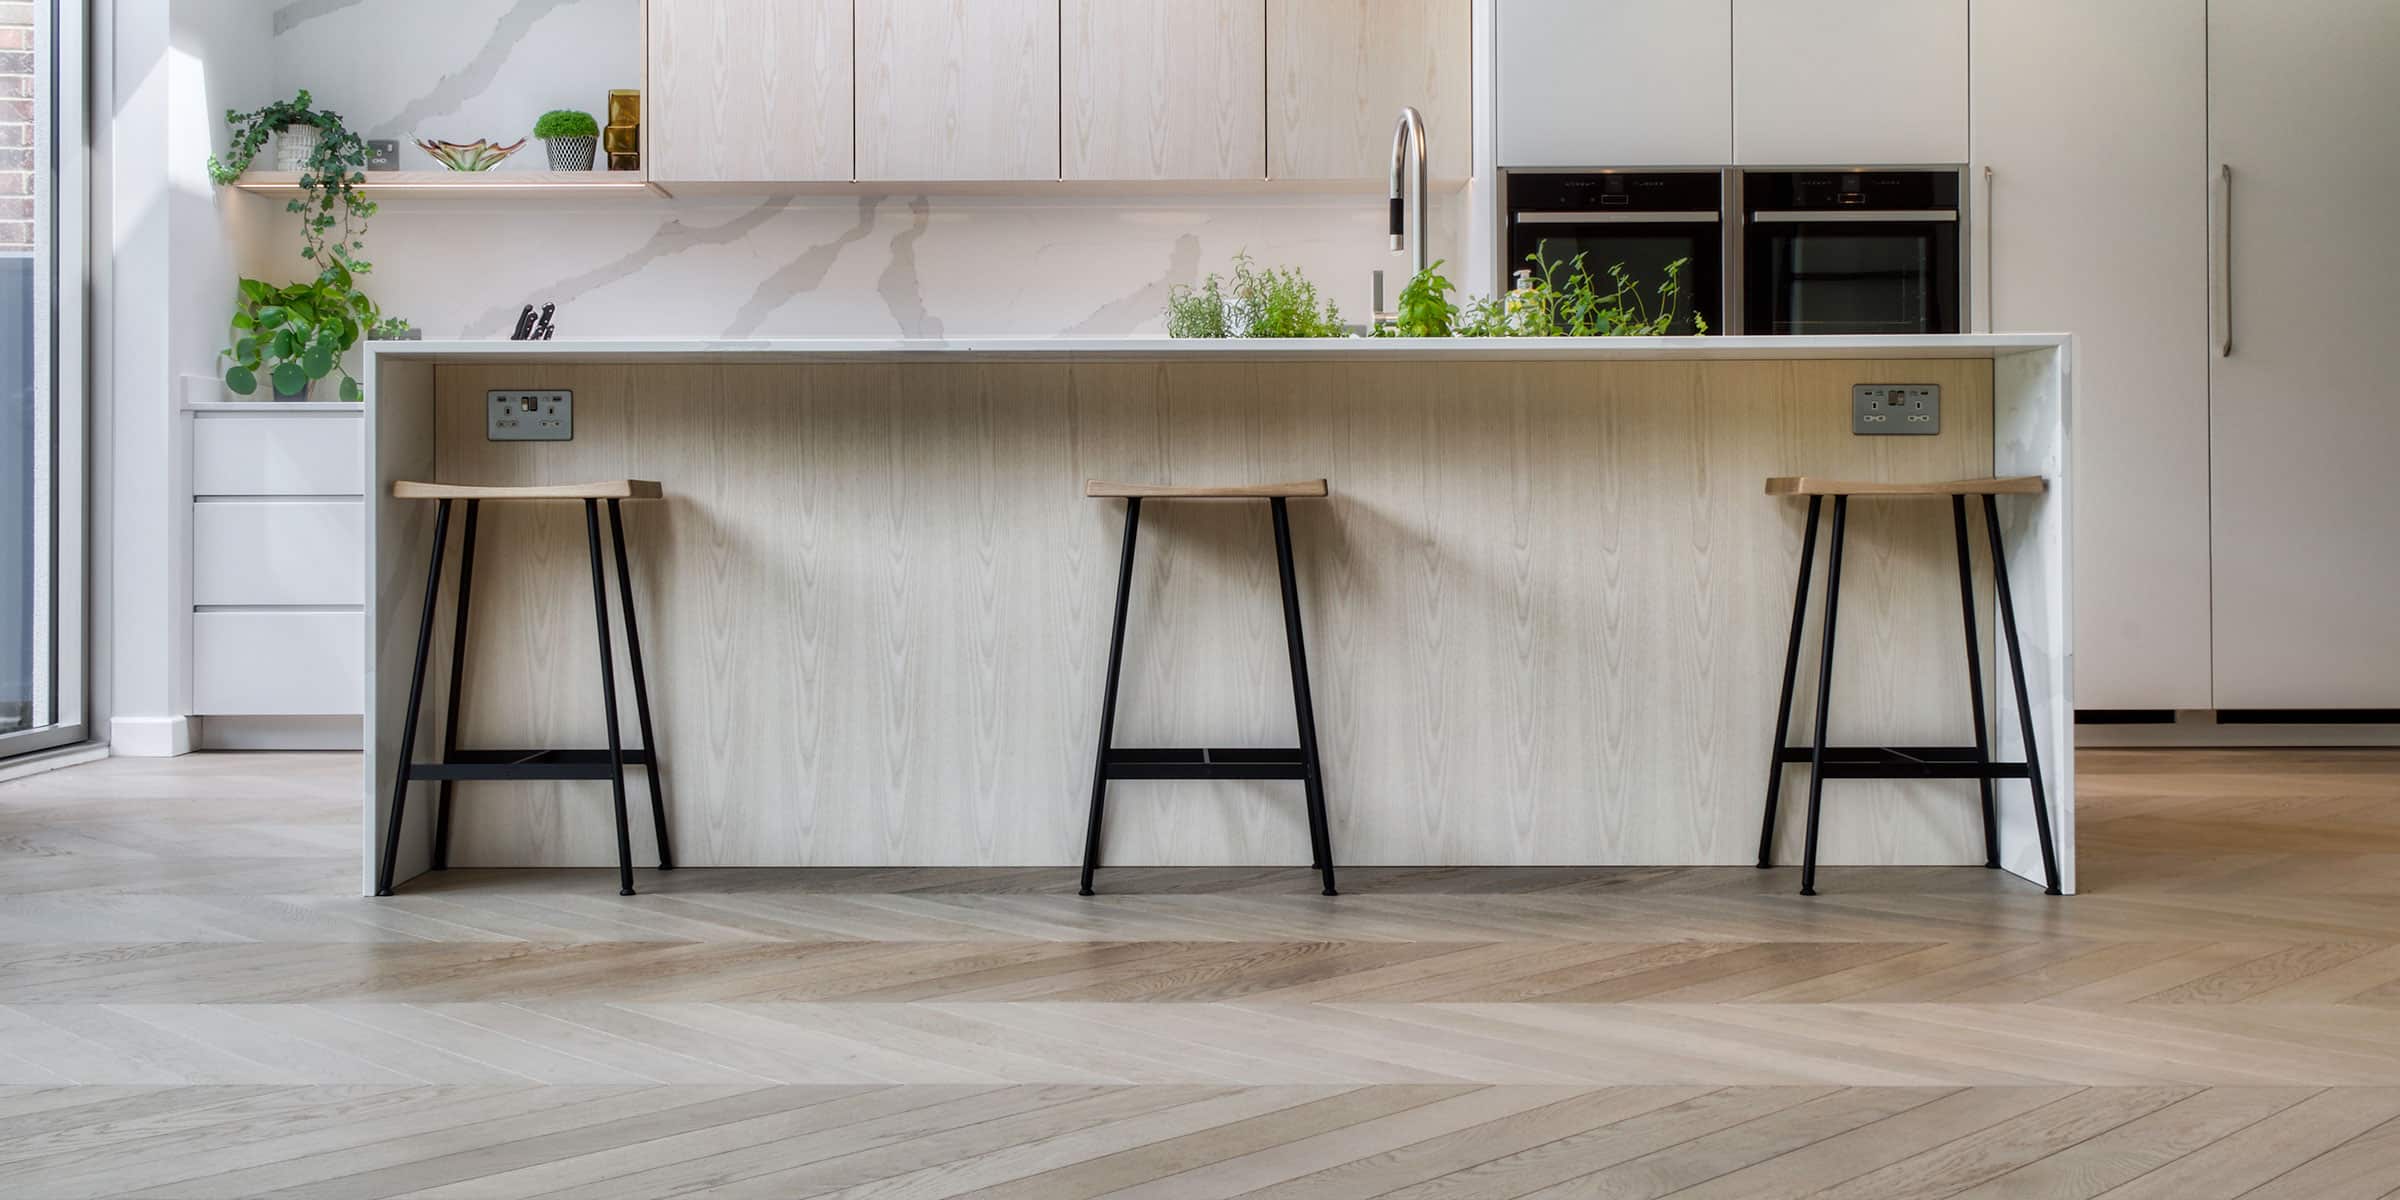
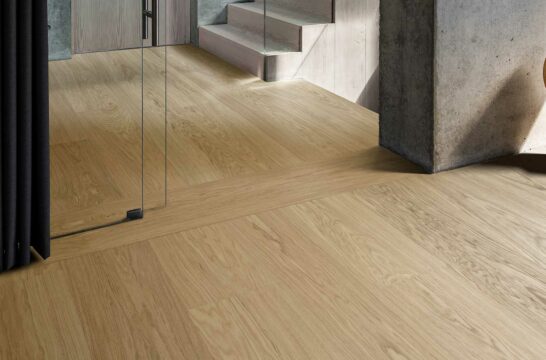
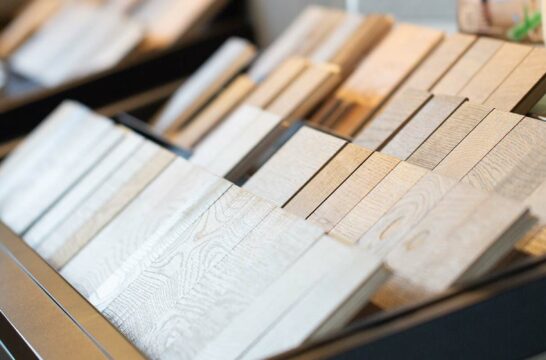
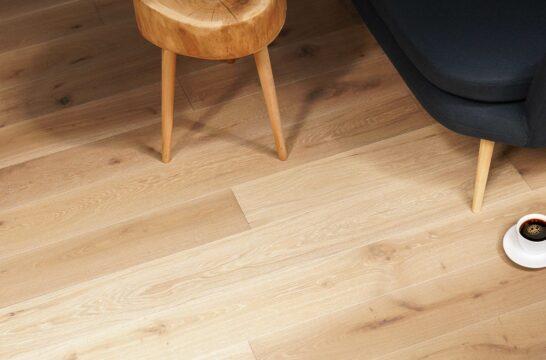
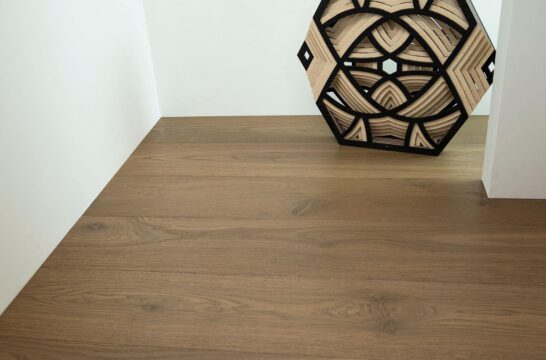
Though engineered wood flooring is resilient, and repairs are simple enough to implement, it is best to prevent their need as much as you can. The most effective way to maintain your engineered wood flooring is by keeping it clean and swept as regularly as you can. Wipe up messes and spills when they occur, and keep an eye on signs of wear and tear that could worsen over time if left unchecked. The strength of engineered wood flooring lies in its hardwearing nature. They are made with a solid layer of hardwood backed by several layers of high-quality plywood, which provide flexible stability and heavy-duty strength. This layered composition also aids in repair, as we’ll explain later.
The Best Ways to Repair Your Engineered Wood Flooring
The best way to repair your engineered wood floors will depend on the cause and severity of the damage, so you ought to adjust your approach accordingly. We offer a wide range of accessories to help you prime and maintain your engineered wood flooring, including repair kits and fillers, wood putty, liquid adhesives, cleaners, and more.
Fixing Minor Issues
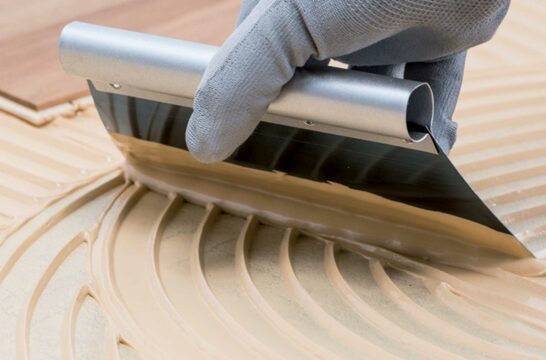
- In areas of high humidity and moisture levels, the glue bonding the boards to the subfloor can come away, causing raised and hollow spots in your flooring. When this happens, drill a small hole in the offending board, and inject a liquid adhesive inside until it reaches the base.
- Using a heavy object, hold the board in place until the glue has dried, bonding the plywood base and subfloor together. Then you can fill the drill’s hole with wood putty.
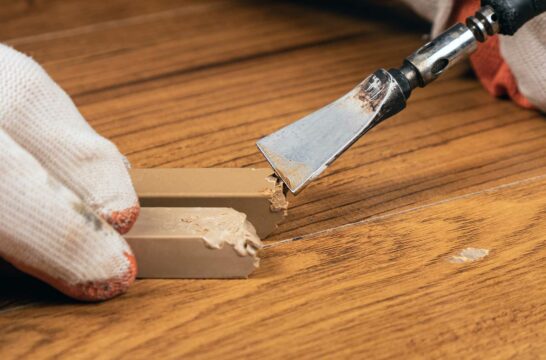
- Surface-level scratches and gouges can be repaired with wood putty. If your engineered wood floors are a unique shade, you may need to mix in some wood stain to achieve the right match.
- Apply your wood putty using a putty knife, and cover the areas of damage. Once roughly patched, smooth out the mix and clean any excess to maintain a level and smooth surface.
- Ideally, you should leave the area to dry ove ight before you attempt to walk on it.
Replacing Damaged Boards
- Using a circular saw, cut down the centre of the board, being mindful not to cut through to the subfloor. Work slowly and safely, with protective gloves and goggles.
- Once the plank has been cut lengthways, you should be able to remove it. A hammer and chisel will work well to lift it, but be careful not to damage the tongue and groove fittings around the edges of the clean boards.
- Your approved V4 retailer should be able to provide a replacement plank for you, or you may have some excess leftover from the initial installation.
- The new plank will likely have tongue and groove fittings, so a protruding ‘tongue’ connector on one side and a groove on the other. Cut away the tongue and apply adhesive to the area.
- Now, insert the board groove side first, slotting it into the other planks, then slipping the flat side down, fixing it with the adhesive.
Sanding and Refinishing
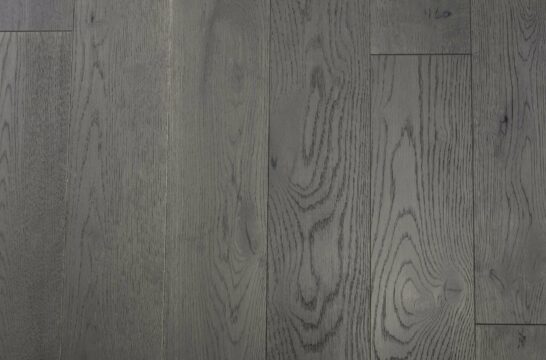
- Extreme wear and tear, where lacquered surfaces have come away from the hardwood layer of your floors, will often require a complete refinish. Despite the thinner hardwood layer, this can be done a couple of times before the boards will need replacing.
- Using a hand or orbital sander, work in sections to take away any excess lacquer. Sanding by hand is generally safer, especially when working with engineered wood flooring, but if you have to sand a larger area then mechanical options will be less strenuous. Be careful not to take too much off or leave the boards warped.
- Work with a medium-grit paper and, with each pass, opt for finer-grit papers until the job is done.
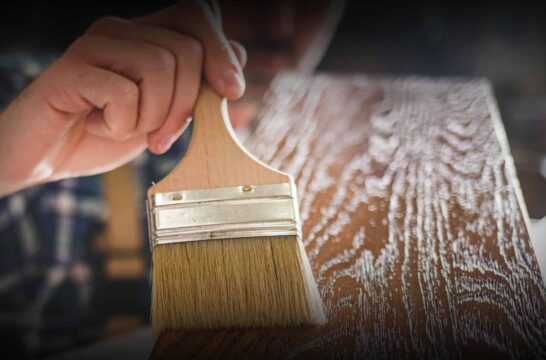
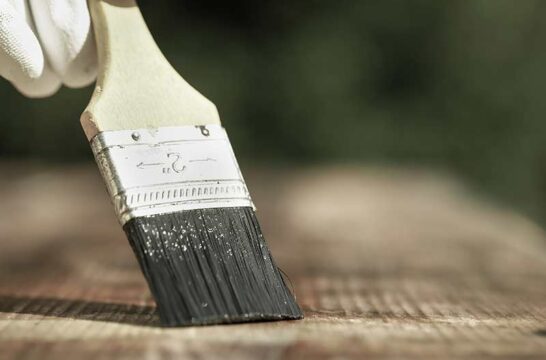
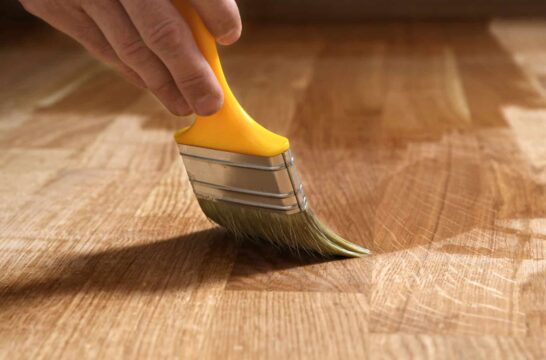
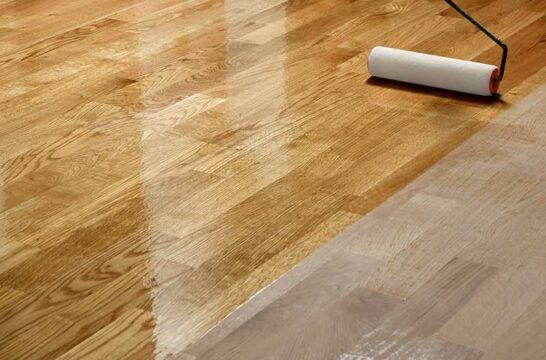
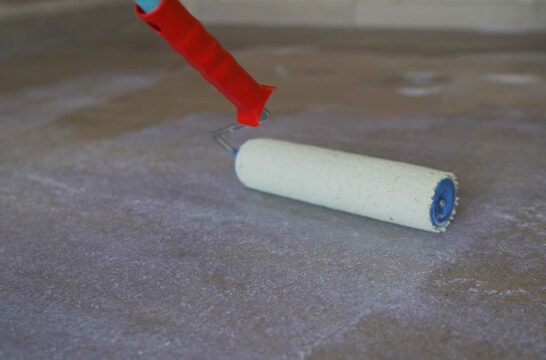
- Then sweep away all leftover sanding dust and apply your finish. This will either be a type of oil or lacquer, depending on what your original floors were finished in.
- Lacquer provides a natural seal, but if you are oiling your floors you may want to apply a sealant to further protect the integrity of the flooring going forward.
- Top tip: Once the finish is applied, you should avoid walking on it for a few hours while it dries, so we recommend working from one co er and out towards your exit, so you avoid trapping yourself.
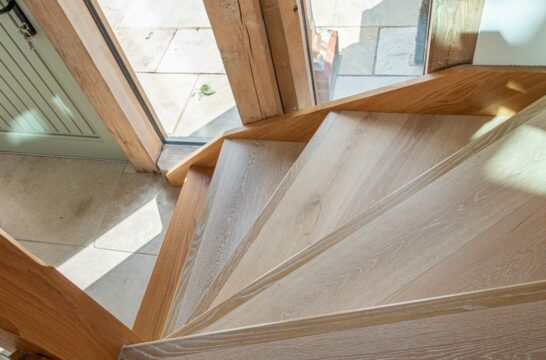
Flooring That Asks for Little but Gives a Lot
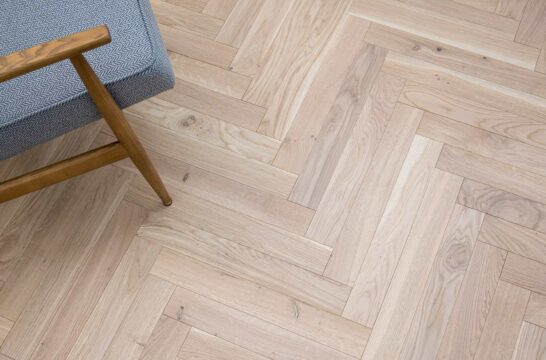
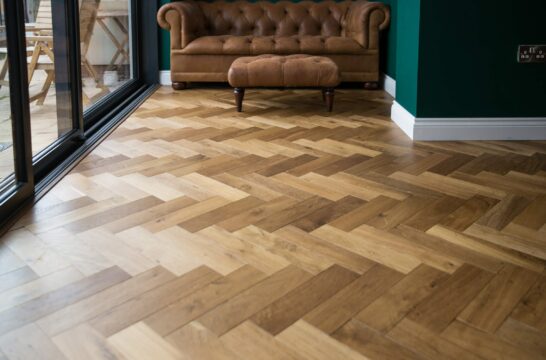
If you are looking for an economical alte ative to solid wood flooring, with added resistance to damage and humidity and low overall maintenance, then look no further than engineered wood flooring. Our range exhibits the same unbeatable real wood look at a fantastic price, and is simple to look after and repair.

Find your local retailer
Here you can see large format samples and get expert advice from flooring experts who will sell and install your chosen floor

Visit our Surrey Design Centre
Archives by Month:
- April 2024
- March 2024
- February 2024
- January 2024
- December 2023
- November 2023
- September 2023
- August 2023
- July 2023
- April 2023
- February 2023
- January 2023
- October 2022
- September 2022
- August 2022
- January 2021
- November 2020
- October 2020
- September 2020
- August 2020
- July 2020
- June 2020
- February 2020
- November 2019
- October 2019
- September 2019
- June 2019
- May 2019
- February 2019
- January 2019
- October 2018
- September 2018
- May 2018
- April 2018
- January 2018
- December 2017
- October 2017
- July 2017
- June 2017
- March 2017
- February 2017
- January 2017
- October 2016
- September 2016
- August 2016
- June 2016
- April 2016
- February 2016
- January 2016
- December 2015
- November 2015
- October 2015
- September 2015
- July 2015
- June 2015
- April 2015
- March 2015
- January 2015
- September 2014
- May 2014
- April 2014
- March 2014
- February 2014
- January 2014
- December 2013
- October 2013
- August 2013
- June 2013
- January 1970